When Vintage Is Better Than New
Most people know that I am a 'gadget gal". I love tools that work! What I love even more is finding an old tool that works better than new ones!


 It's flexible in that there is a bend where the guide could fit over the front curve of your machine - if it is not in a cabinet. The 're-usable" tape is simply something like (if not actually is) Elmer's poster tape. The tape does 'revive' itself if you run it onder hot water --- making it re-positionable on your machine bed. This guide would work very well if your machine needs a short shank quarter inch foot...but it does not work well with the feet on my Janome 8900...maybe I will try using it on my Featherweight?
 Food for thought:
Have you ever made a sewing mistake that you were not sure could be fixed? What did you do?
What are your favorite fabrics to make clothes with?
Favorite patterns???
Have you had good luck making clothes from quilting cottons? ("they" say that quilting cottons tend to be thicker than apparel cottons)
What are your favorite sewing tools - vintage or new??
Voila! My favorite vintage sewing tool... The Florian Rotary Pinker.


One thing that I have never been very happy with (in any of its various iterations) are pinking shears or rotary pinking blades. They just have never cut well and they have all laid, unused and unwanted, in my sewing table's drawers. The Florian Pinker changed all that! It is is a marvel of usefulness! I believe that that it could well be the forerunner of what we now call the rotary cutter. The Florian Rotary Pinker came out in 1936 then, In more recent years, they were not in business, but a company in Oregon is now making them available again. I got mine from EBay. It is vintage, looks like it was just about unused, and it works like a charm. If a Florian Pinker ever need sharpening, which my does not, this company will happily service a vintage pair.
Another vintage marvel is this Simflex. I use mine for positioning button holes and button. I had considered buying a new one but the new wmodels look like they are cheaply made and I did not want to spend the money on cheap metal and flimsy construction. This vintage simflex (again found on Ebay) is another barely used find. It is beautifully constructed without being heavy. I think that the metal is of much better quality that the "new" version. It glides open and closed and I am delighted with it. New fangled versions are readily found on Amazon and most all "sewing" vendors online though I am not sure that I have ever seen them in stores...then again I can't say that I have evcer looked for one in a store.


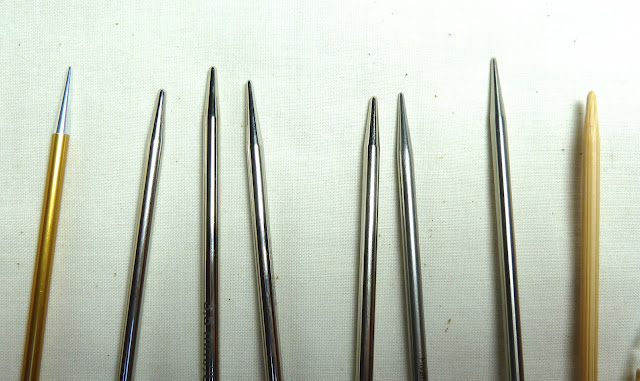
Since I have been sewing shirts I found that, although I am well trained at judging a quarter inch (and my machine foot makes them perfectly) I was not used to either using or eye-balling 1/2" and 5/8" seams. I went on the hunt for a seam guide that would train my eye and make me more aware of the needle plate markings for these previoulsy, mostly un-used, seam widths. I had looked at this "Creative Notions" brand seam guide and it seemed to have promise. I even found a used one on Amazon that I decided to try since it saved me $5.00. Suffice it to say that I have returned to using a short stack of post-it notes and blue painter's tape.
This seam guide would be good for quarter inch seams, but it is fairly useless for what I wanted to use it for. It comes with a foot which I knew I would not want or need. The guide itself is made of sturdy plastic that is between1/8" to a 1/4" in thickness... the 1/8" being in the area that "houses" the double stick tape-- so it mostly a whopping 1/4" thick. The problem with using it for me is that it is too thick and the little screw-thing that is on the right side of my presser foot (as you look at the machine) gets in the way.


It isn't a bad tool - it just did not work well for and me and my current sewing set up. I have better, less expensive, options.
The picture below is of my sixth shirt...it's a long sleeved "basic" shirt pattern from Brensan Studios. I am using an Alison Glass cotton fabric. My only negative observation is that it wrinkles a lot - and easily. Note well: when shopiing for fabric (especially if using quilting cottons for clothes) grab a handful of the fabric and crush to see how much, and how easily, it will wrinkle. None-the-less this will be a nice looking shirt and it will go with a lot of my tee shirt colors when I wear it over another shirt. I cut it extra large so that it would could used as an overshirt too. During the construction I tried an unsuccessful way to bind the armhole seams. The stitching was too dense to rip out (I had overlocked the raw edges) and did not have enough fabric to cut outanother sleeve. I took a deep breath and tried a drastic measure...cutting out the sleeve from the body of the shirt, then redefining the pattern pieces and resewing with a smaller seam allowance to make up for the cut out! Thankfully my bet paid off and all is well. Phew! Also note well: most things can be fixed if you think through it calmly. I am having so much fun with shirts!
Now I am just waiting for a button order to arrive so that I can add the buttonholes and buttons. Thank goodness that I can order button online these days! I would never complete anything if I had to wait for an off-island jaunt to shop! I can wait finish this one off and start another - with a different pattern and more luscious rayon ...how I love rayon!

Have you ever made a sewing mistake that you were not sure could be fixed? What did you do?
What are your favorite fabrics to make clothes with?
Favorite patterns???
Have you had good luck making clothes from quilting cottons? ("they" say that quilting cottons tend to be thicker than apparel cottons)
What are your favorite sewing tools - vintage or new??
Was fortunate to find a Florian linker, love it.
ReplyDeleteI love to make handcraft by myself. Currently, I need a rotary cutter because my old one is already damage. One of my cousins suggests me to visit here and also said that here I found a different kind of rotary cutter. If you had more insight into it, I would much appreciate it. Thank you.
ReplyDelete