Skip to main content
Search
Search This Blog
marie z johansen
my obsessions & diversions; usually of an artful nature
Chapters
HOME
CONTACT ME
More…
Posts
Showing posts from 2014
Show all
December 28, 2014
Which Word Is "The Word"?
December 21, 2014
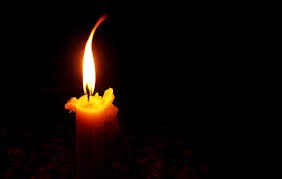
Light A Candle Against The Dark
December 15, 2014
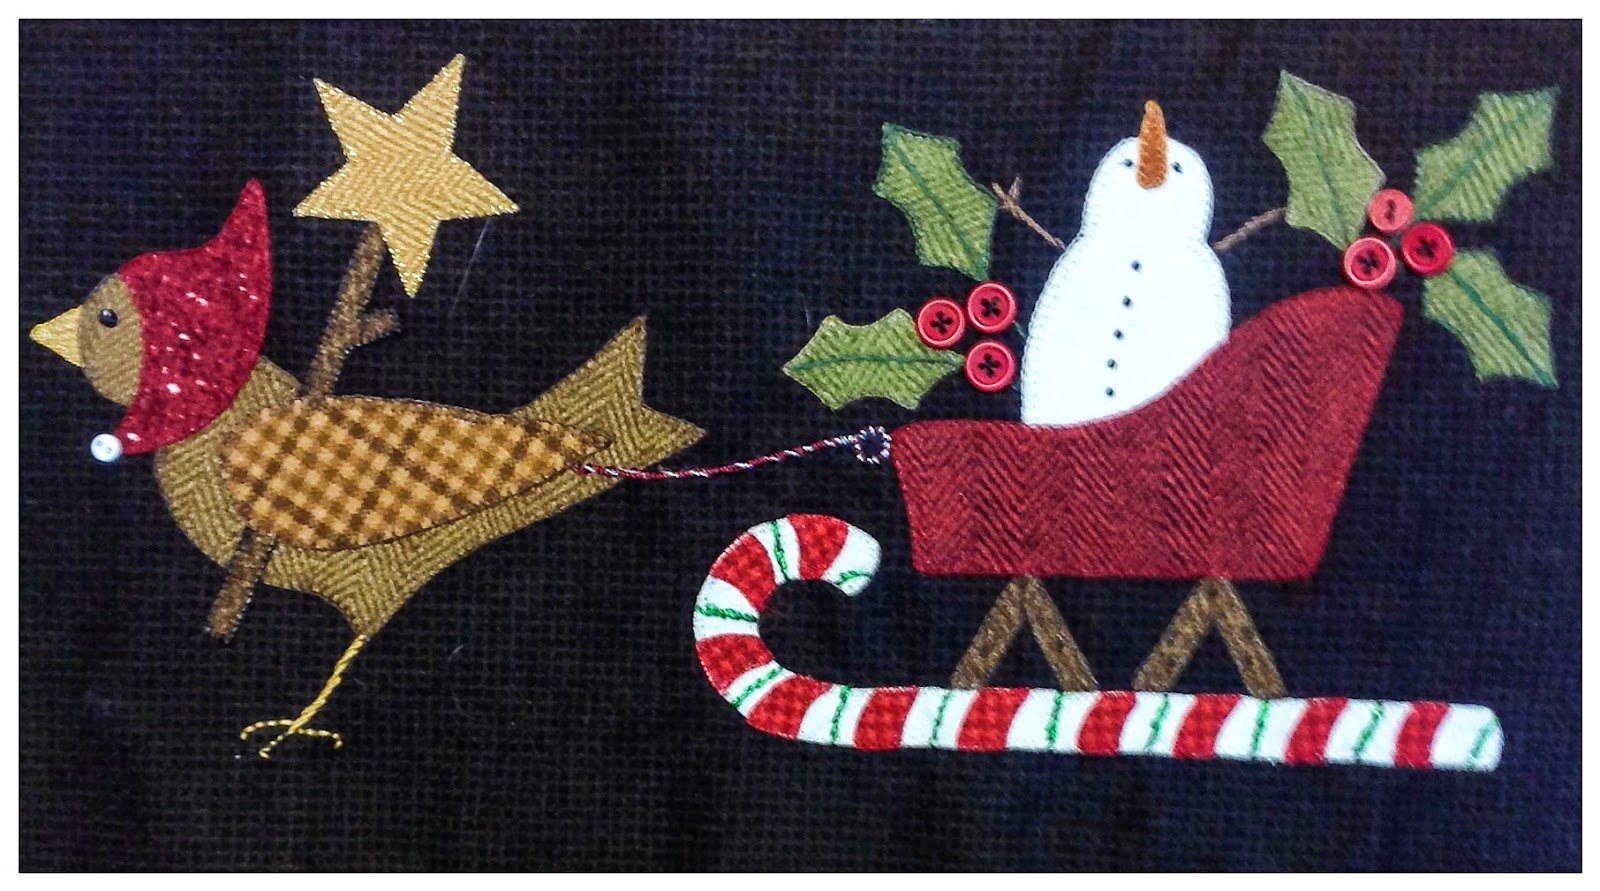
The Calm In Hand Work
December 09, 2014
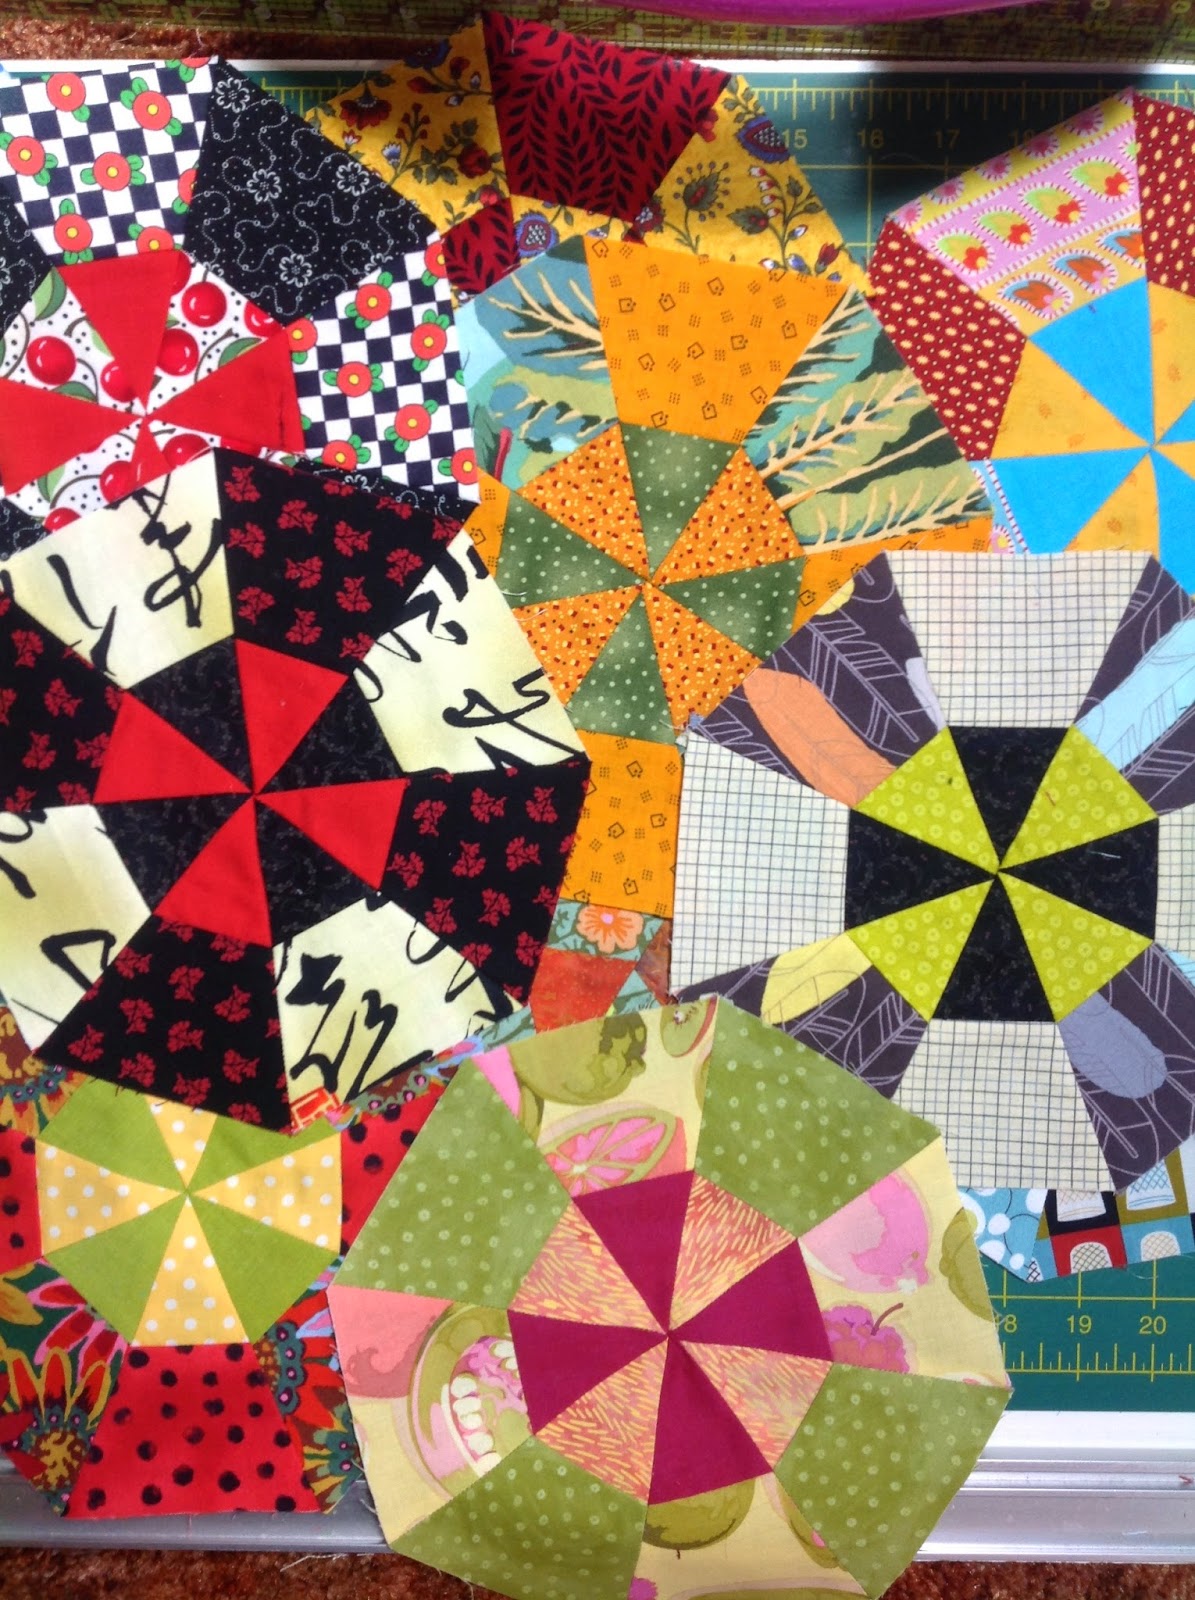
Hexagons Are Like Potato Chips or How Red Is The New Neutral
December 05, 2014
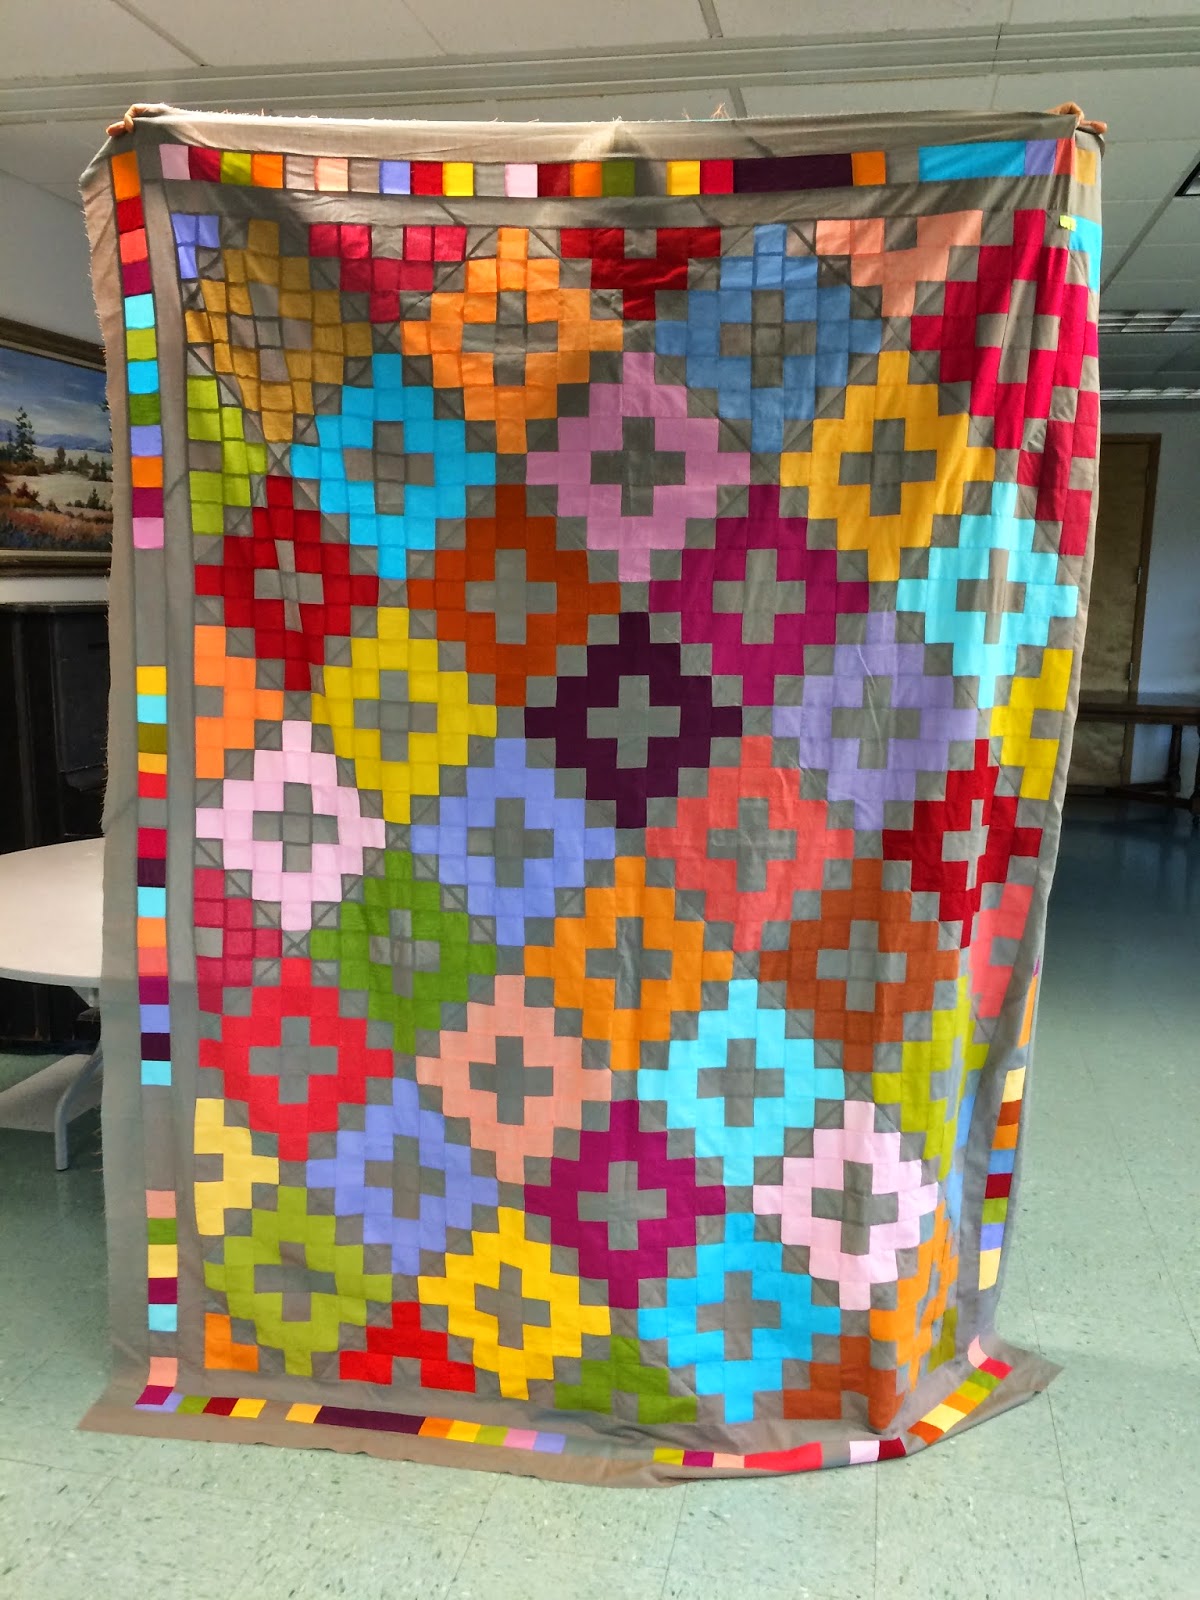
Recent Constuctions
December 01, 2014
Exciting News !
October 02, 2014
What September?
August 29, 2014
More Eco Dyeing Experiments
August 17, 2014
Steeped Bundle Dyed Silk
August 08, 2014
A Chance To Win Lesley Riley's Newest Book!
August 04, 2014
Bundle Eco-Dying A La India Flint's Stuff, Steep, and Store Method
August 02, 2014
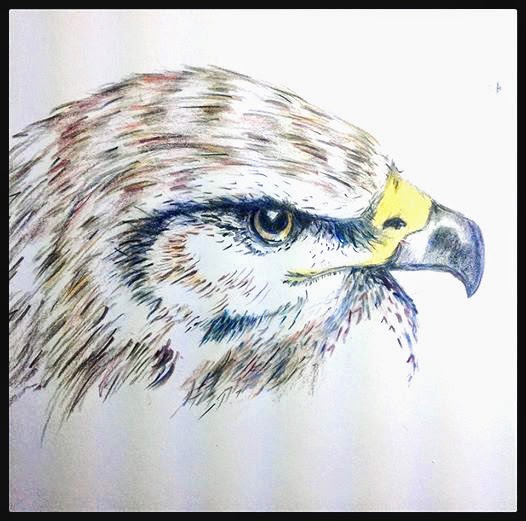
Birds Galore! Learning to Draw!
Newer Posts
Older Posts
Home